
I built this banquette over the weekend, posted it on Facebook, and now I have a few people asking for plans. While I don’t have any plans specifically, I did take a lot of pictures along the way to show how it was build. I hope this is helpful!
For supplies I used:
- Kreg Pocket Hole jig with 2.5-in screws
- 8 96″ 2×4 Whitewood Stud
- 24′ 1×4 Primed Pine (for top/bottom molding)
- 30″ Nickel Piano Hinge
- 48″ Nickel Piano Hinge
- 40′ 15/16-in White Batten (for panel molding)
- 5mm (1/4″) Utility Panel (face)
- 23/32 (3/4″) A/C Arauco Radiata Plywood
- 1 Qt eggshell paint color matched to cabinets
- 3/8″ flathead hardwood plugs
- About 20 2″ screws
Supplies were about $200 total, but because you don’t use a whole box of screws or sheet of plywood, the actual expense was about $140 of that.
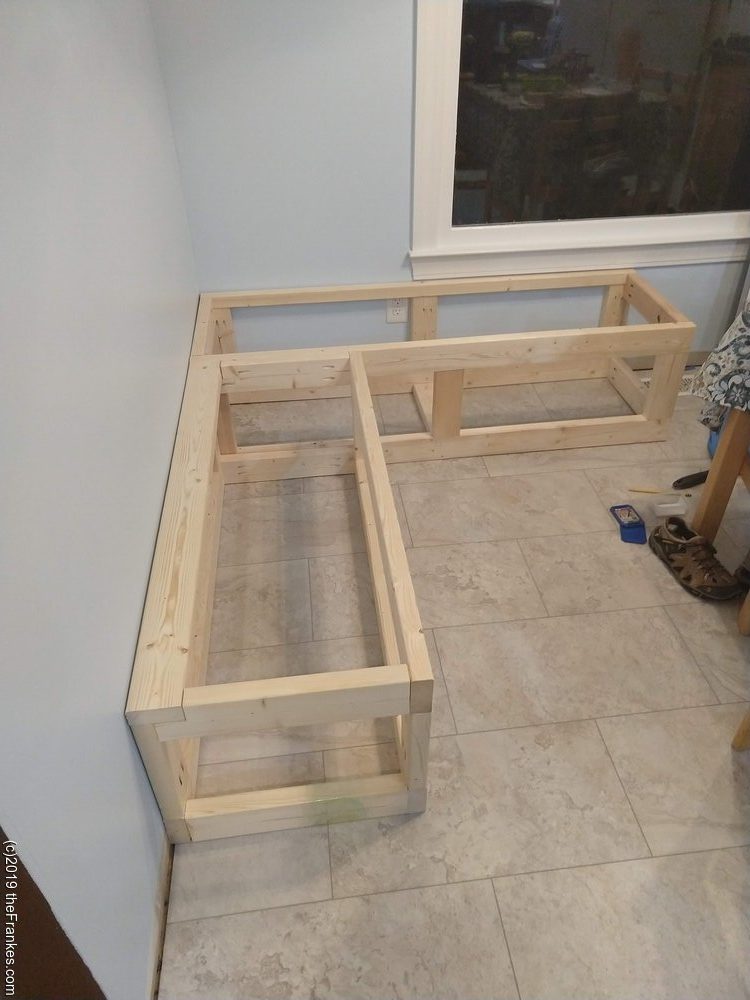
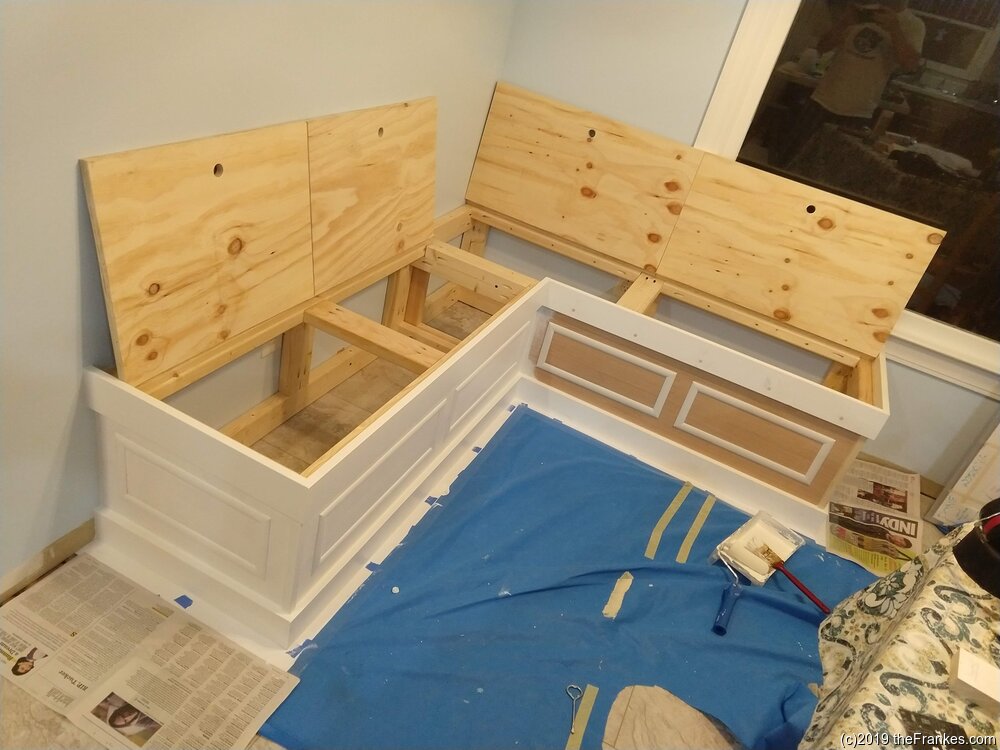
I started by framing the bench with 2x4s. I ripped one to 2×2, but that was a mistake. Instead orient this 2×4 the way you see it here on the other bench. This provides support for both sides of the hinged plywood. The benches are designed to put you at about 18″ off the ground with sitting on a cushion, assuming a 2-inch cushion that compresses to about an inch. The wooden frames are 16″ high, and come out about 20″ from the wall to provide space for pillows at the back.
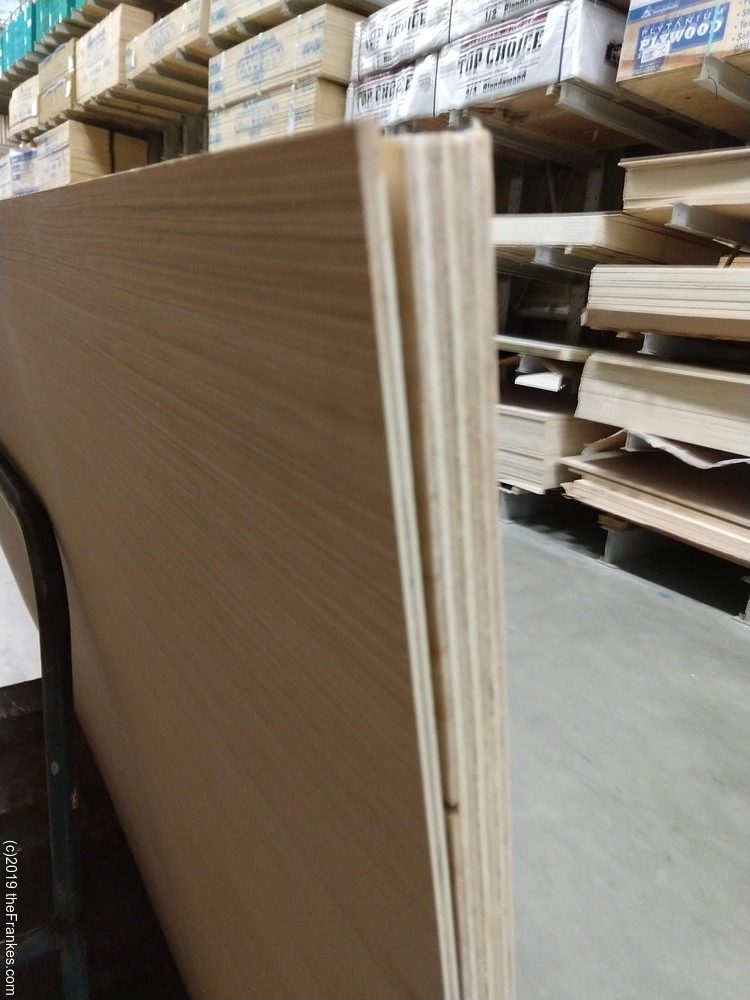
I got a sheet of 3/4″ AC plywood (pretty clean on one side) and 1/4″ primed plywood for the sides. Most home centers will cut these for you to size.
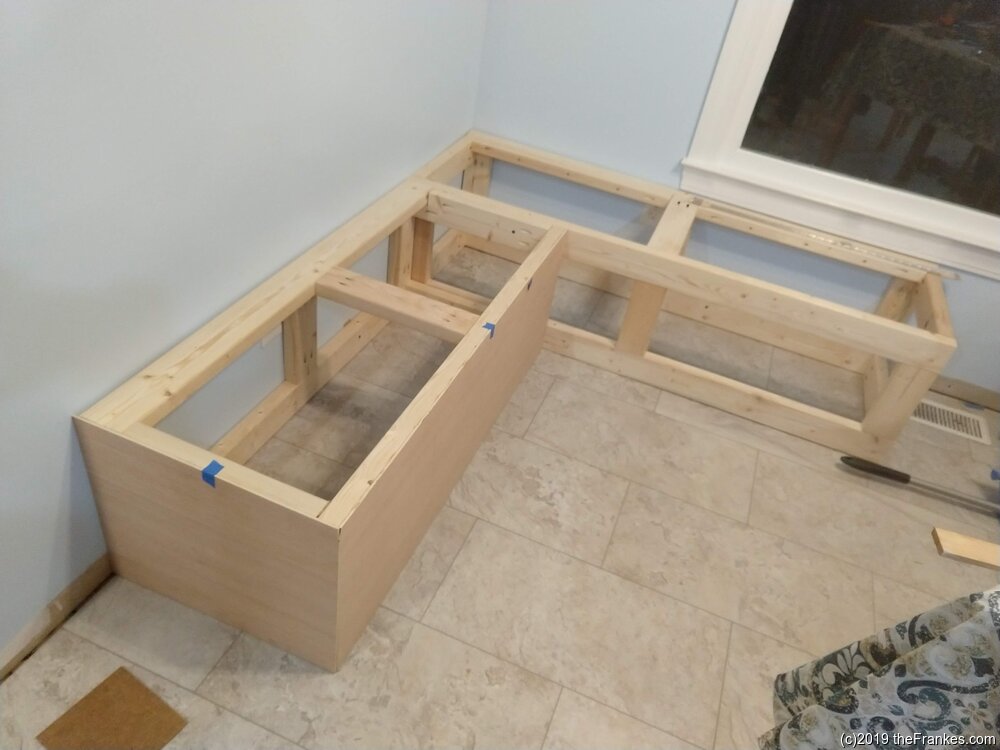
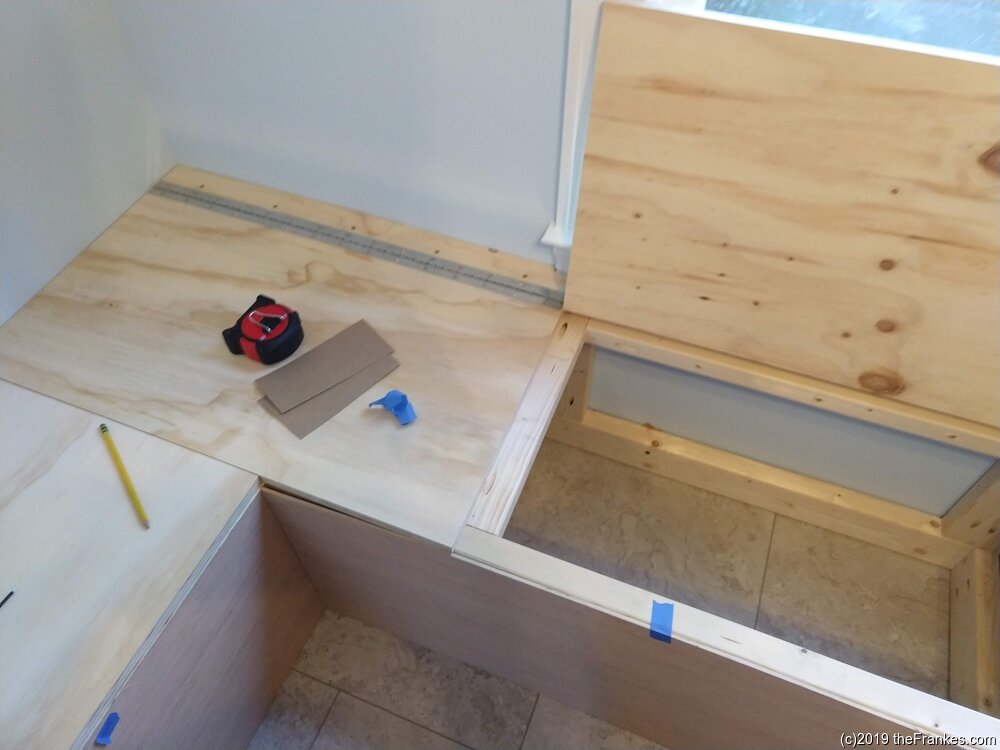
I cut the 1/4 plywood to size for the side panels and taped them in place until I got them all fitting properly.
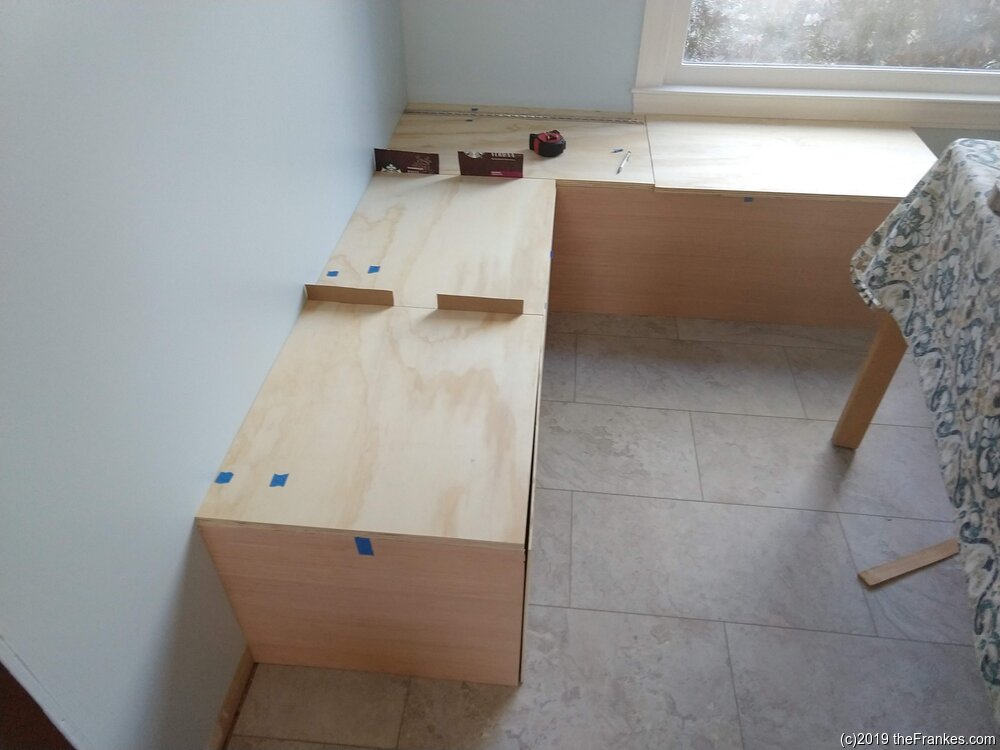
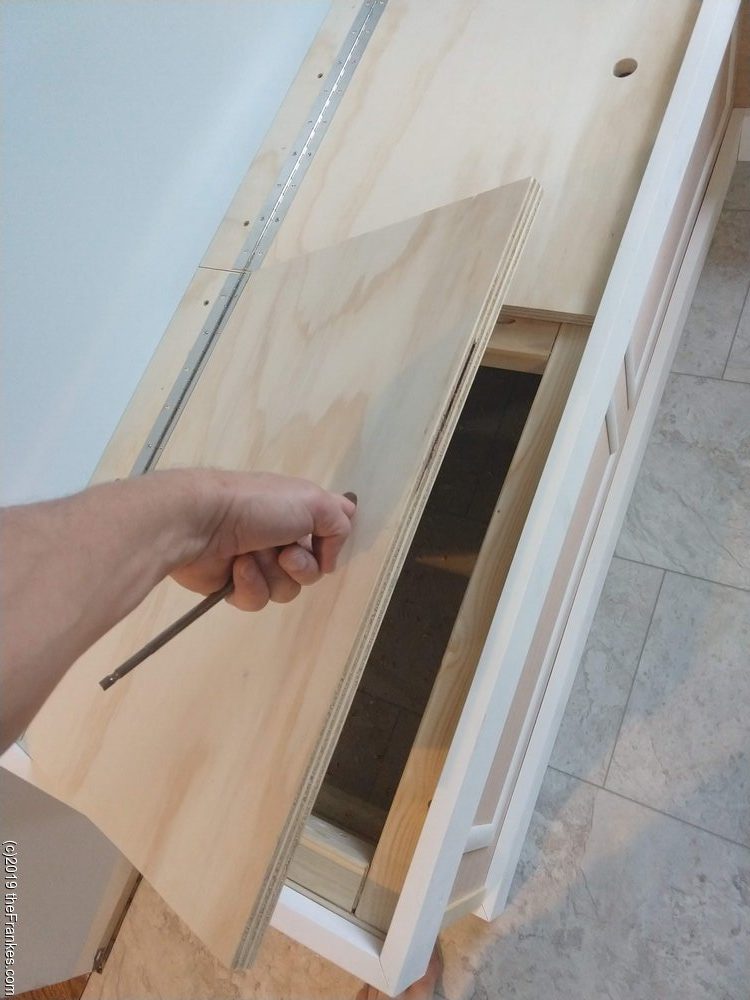
I cut the lids to size also, before ripping them for the hinges. I usually dry fit everything before I fasten them.

I spaced out the lids with sheets of cardboard.
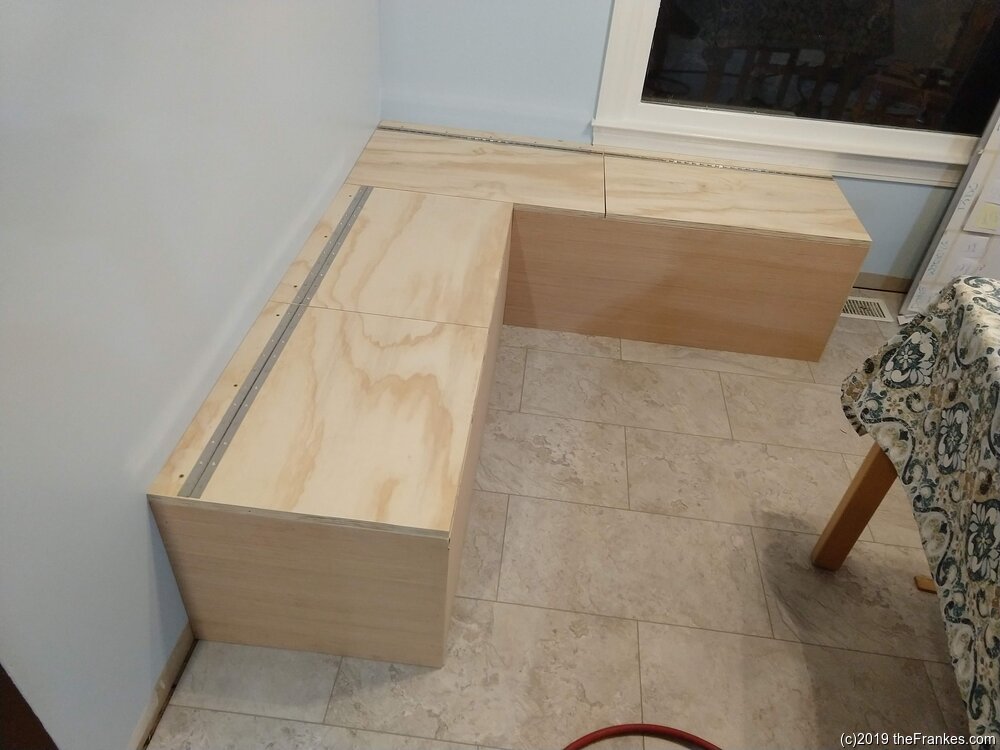
I ripped the back edges of the lids to place the hinges. In this picture you can see that I repaired the mistake I noted above (with the 2×2 instead of the 2×4).
Installed all the hinges (cut to size with a hack saw) with just a few screws each in case I needed to readjust them.
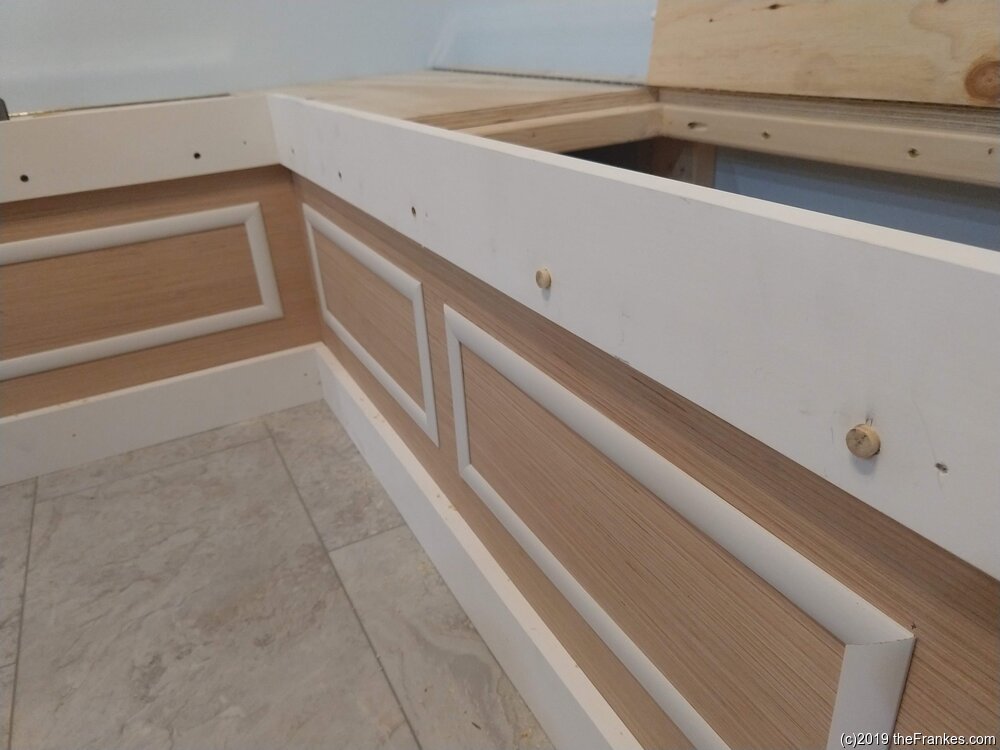
I used 1×4 primed pine for the trim, working my way around and mitering the outside corners — starting on the bottom. I attached them with a nail gun, and used pieces of card stock to lift them a hair off the ground. (I wanted to make it easier to protect the floor from paint.)
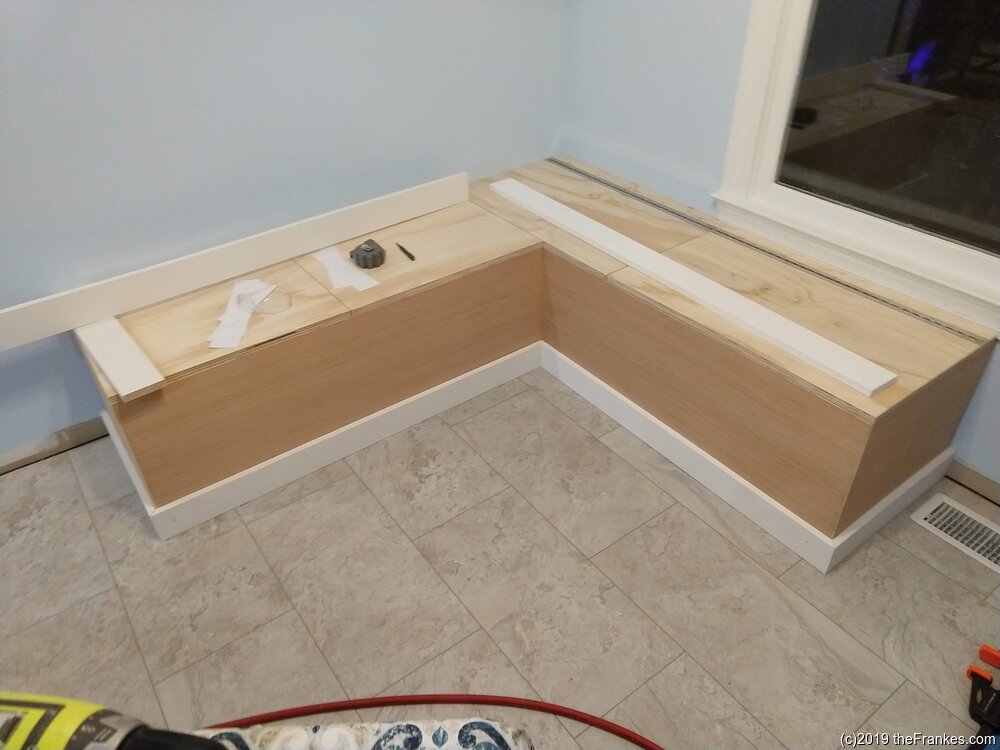
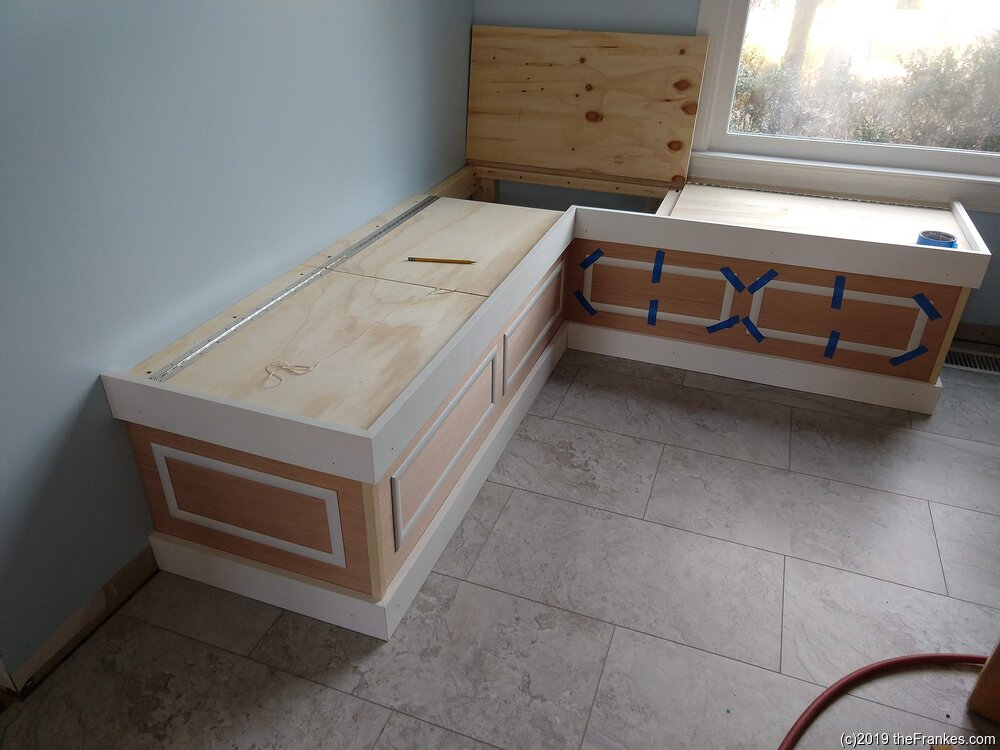
On the top, I wanted to leave a little lip to contain the cushions and help keep them from sliding off the lids. The boards extend about 3/4″ from the top of the lid. At this point, I had to keep one lid open all the time or I’d probably have to use a vacuum to get it back open, so I attached a piece of string stapled to the bottom of one of the lids.
I also made a trim piece to cover the outside corners, and you can see that I did a test fit of the decorative molding, which is just taped into place.
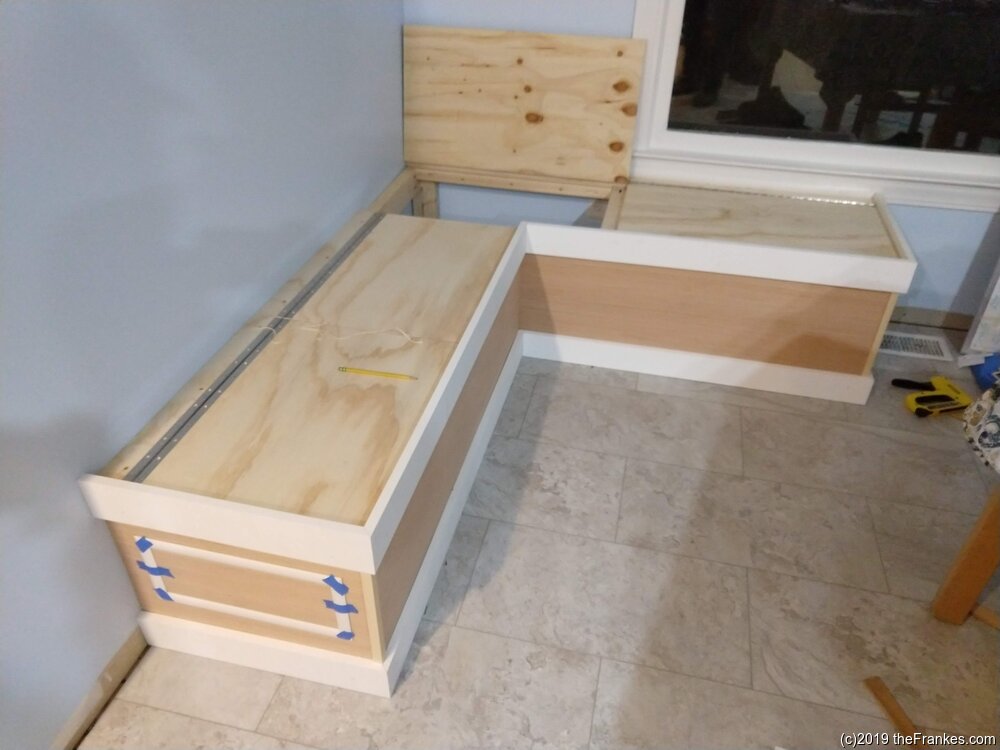
I cut the cut the batten to size carefully so they were all the same size.
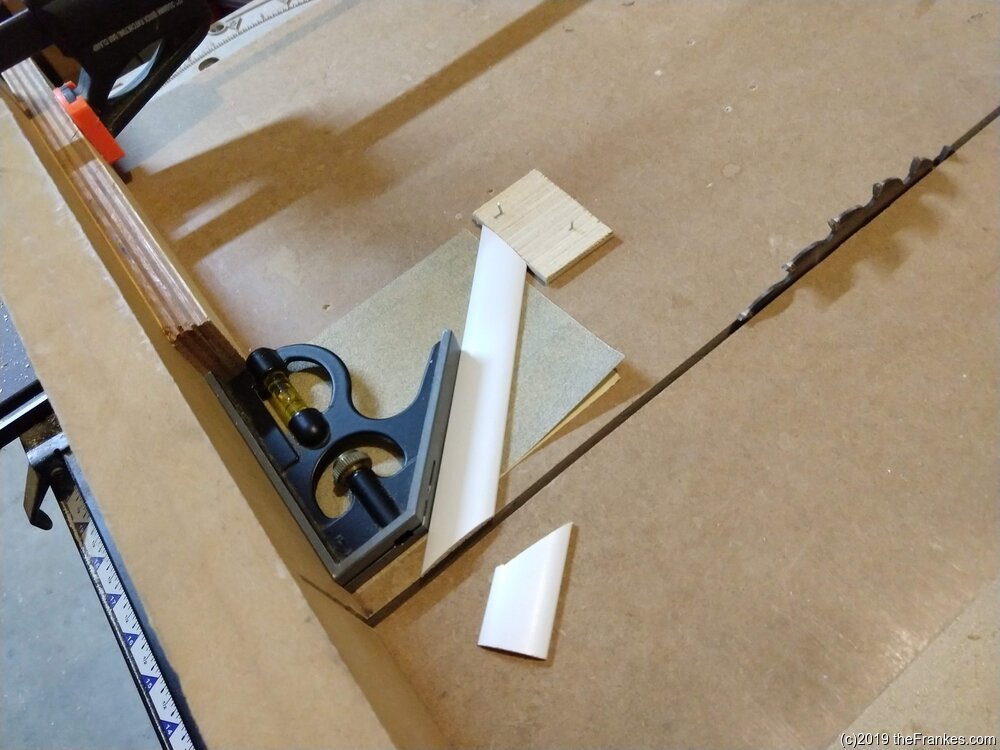
I glued them on and held them in place with tape while the glue dried.
I drilled 1-inch holes for finger pulls.
The top trim board is likely going to see a lot of weight, so I reinforced those with some inset 2-inch screws, filling the holes with glued plugs, and then later flush cutting them with a Japanese saw.
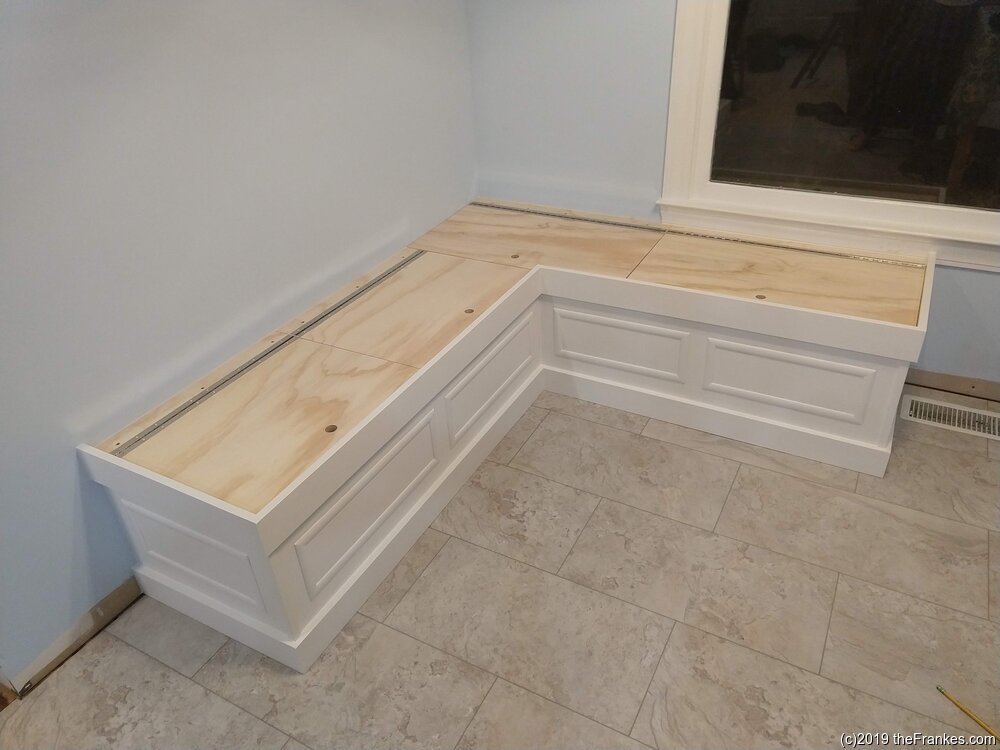
Next came the paint, which I had matches to our new cabinets. I started by sliding some card stock under the bottom molding to protect the floor.
Here’s the finished banquette. Next we need to make some cushions!
Technical Information
Files are resized with imagemagick, using: magick convert *.jpg[1000x1000] -interlace line -quality 85 -gravity SouthEast -font Arial -pointsize 14 -fill black -annotate +2+2 "(c)2019 theFrankes.com" -fill white -annotate +3+3 "(c)2019 theFrankes.com" BanquetteZ%03d.jpg