
What’s a Deckel?
A Deckel is a lid for a drink. It fits over a glass (like one of those large German Maas mugs or a red solo cup) to identify it as your own and to keep the flies out.
Make a Circle-cutting Jig
Start with two smooth pieces of wood or hardboard — one about 12 inches square, and the other about the size of the finished deckel. Using a drill bit the same diameter as a roofing nail, drill a hold through the center of each. On the bottom of the larger piece, carve out a bit of space around the hole so the head of the roofing nail is flush with the bottom of the hardboard.
Put a roofing nail through the bottom of the larger board, and then through the top board. (The top board is sacrificial material that you’ll use to rotate your workpiece.) Mark the nail, remove the top board, and then cut the nail down to the mark so that when it’s glued into place, it will not extend past the sacrificial piece.
Glue the nail into place. You might want to keep the sacrificial board on top to help keep the nail straight if you’re using thin hardboard. Consider gluing a handle onto one side as well. (See photo.)
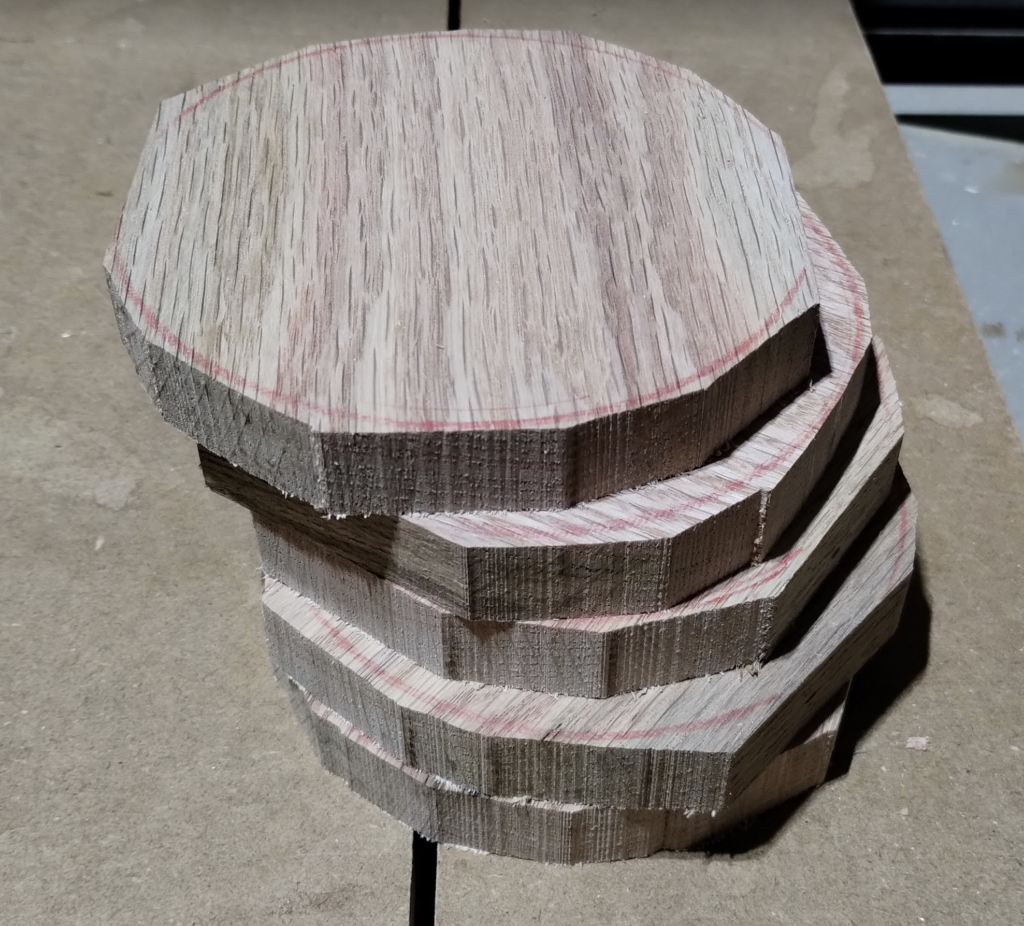
Cut the Blanks
Start with a board about 4.5″ wide, and plane it down to about 5/8″ thick before cutting out some rough rounded blanks.
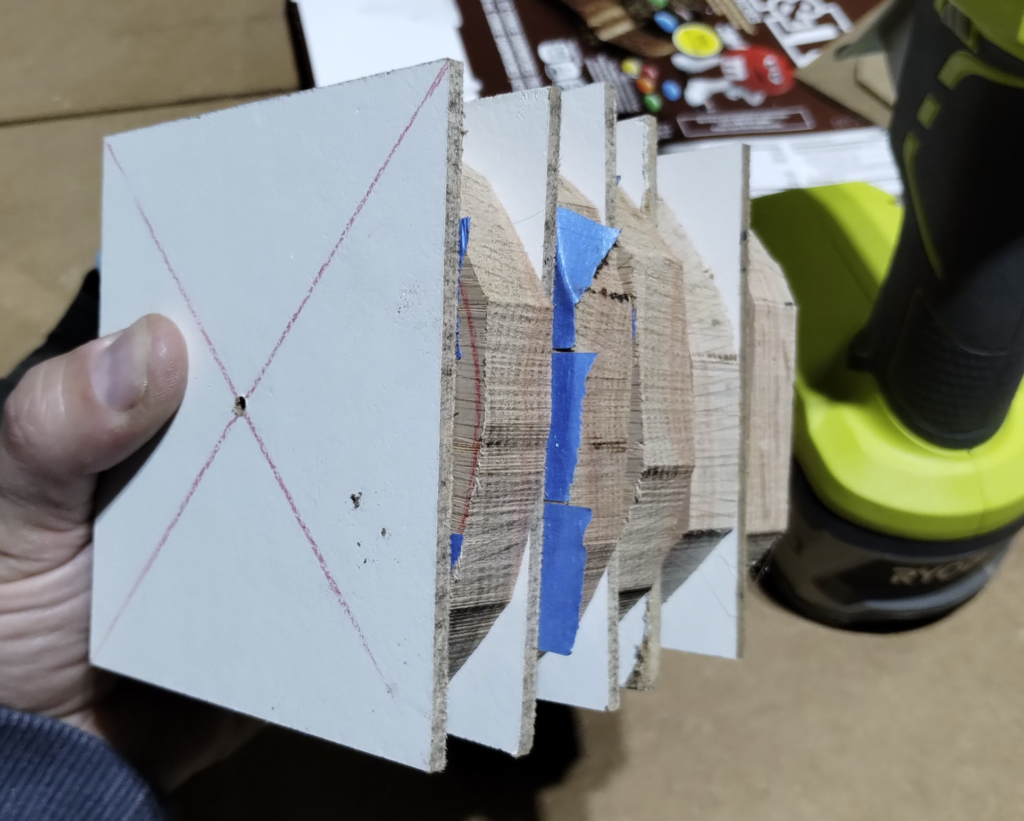
We don’t want to damage the surface of these when we cut the pucks, so we’re going to glue on the sacrificial hardboard. Cut a piece big enough to roughly cover the whole puck, and pre-drill the center with a whole the exact size of the roofing nail. This will be the point of rotation.
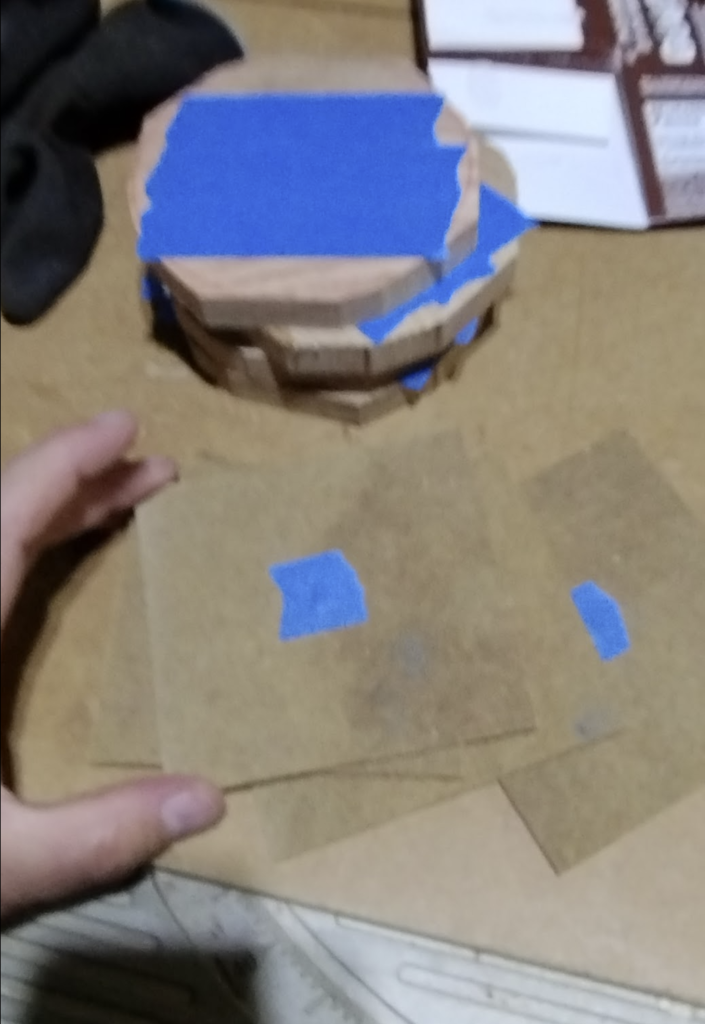
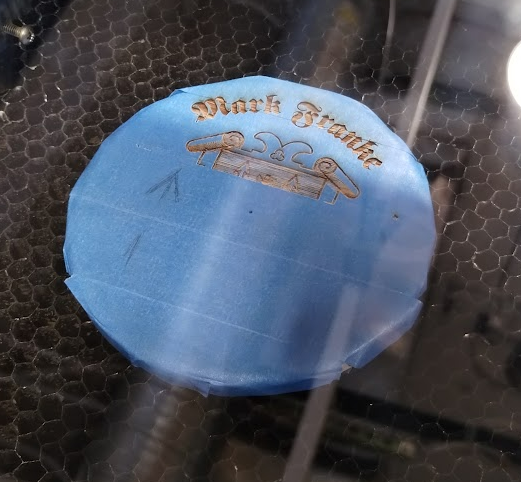
Choose which side is going to be the bottom of the deckel and cover it with painter’s tape. Also tape over the hole in the sacrificial hardboard so glue doesn’t leak through and clog it. (Sorry this photo didn’t focus well, but you get the idea.)
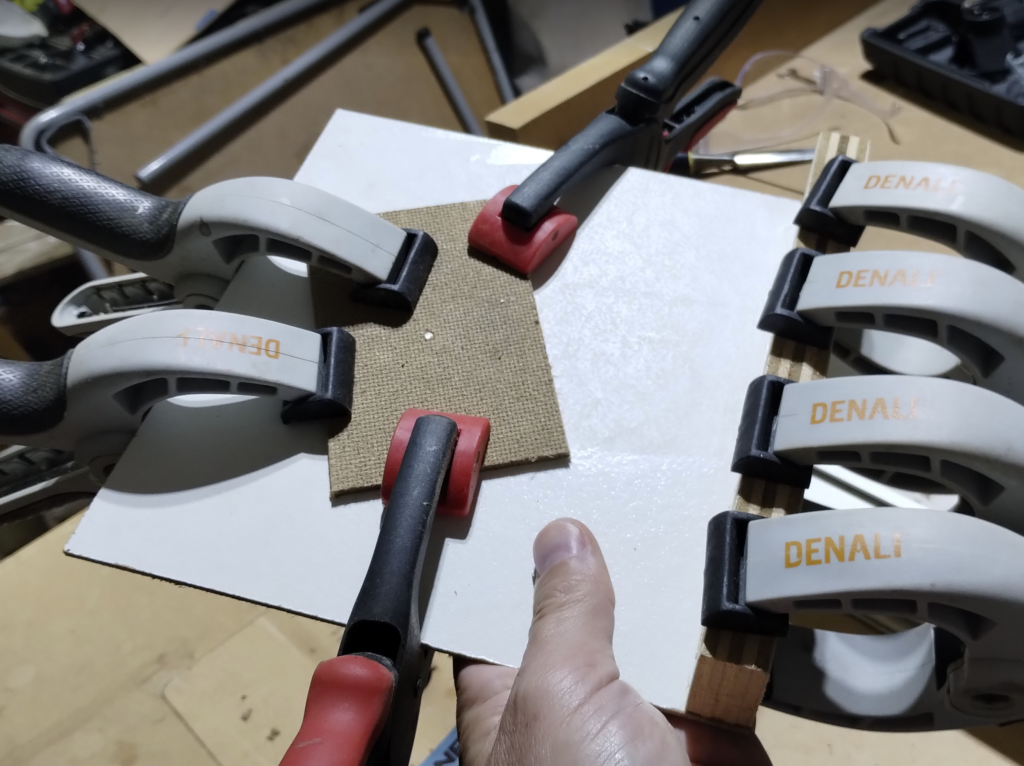
Then glue the sacrificial hardboard to the puck with hot glue, tape side to tape side. CA glue will probably also work fine.
On a router table, set up a couple of guide blocks that you can use to push the circle-cutting jig into the router bit, and set up the fence so that it’ll stop the jig from sliding into the bit at the appropriate puck diameter (about 4.25″).
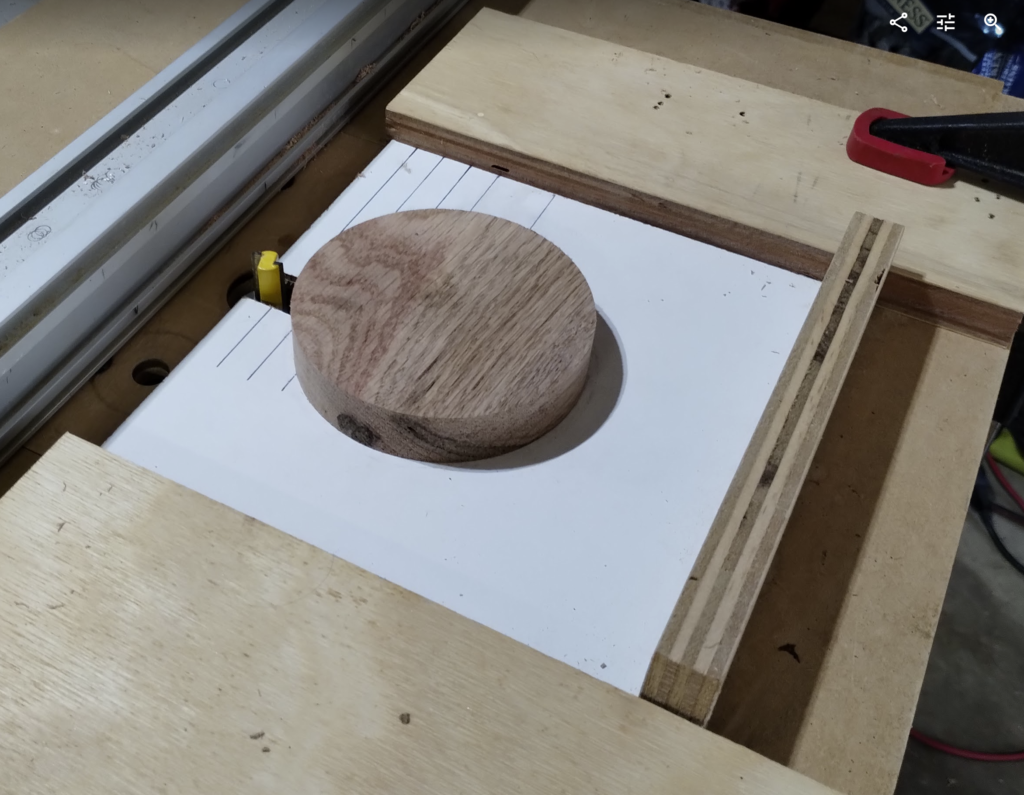
Place the puck on the nail so that it pivots, and cut both the puck and the sacrificial hardboard at the same time, a little bit at a time, until it’s nicely rounded at about 4.25″ diameter.
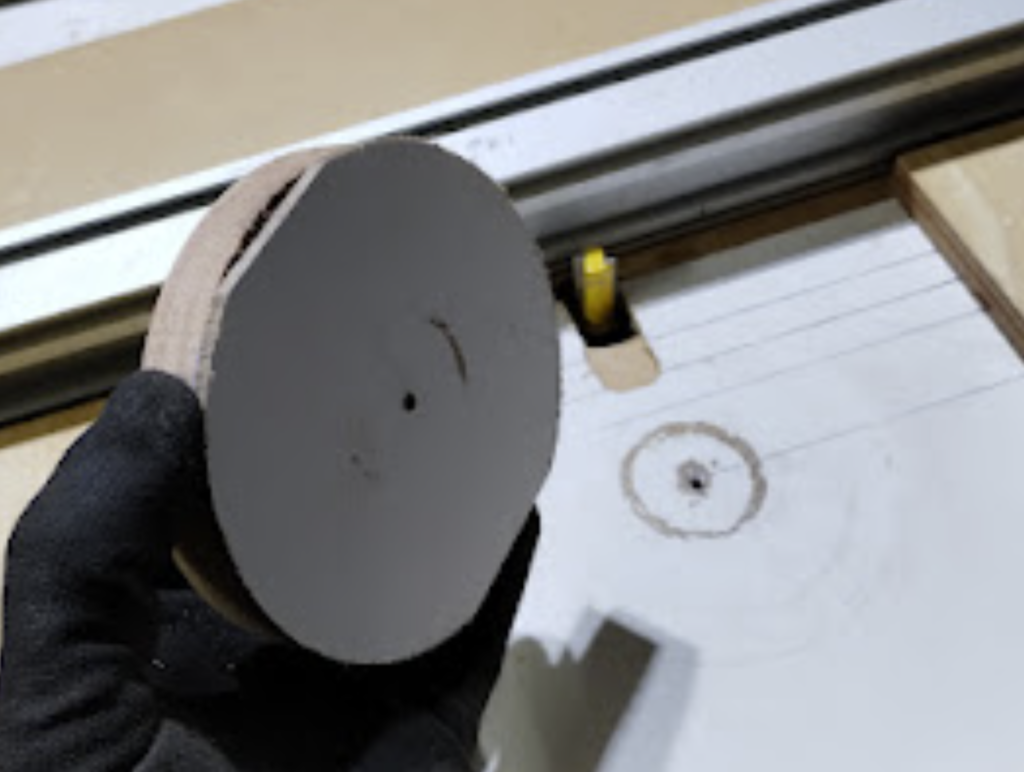
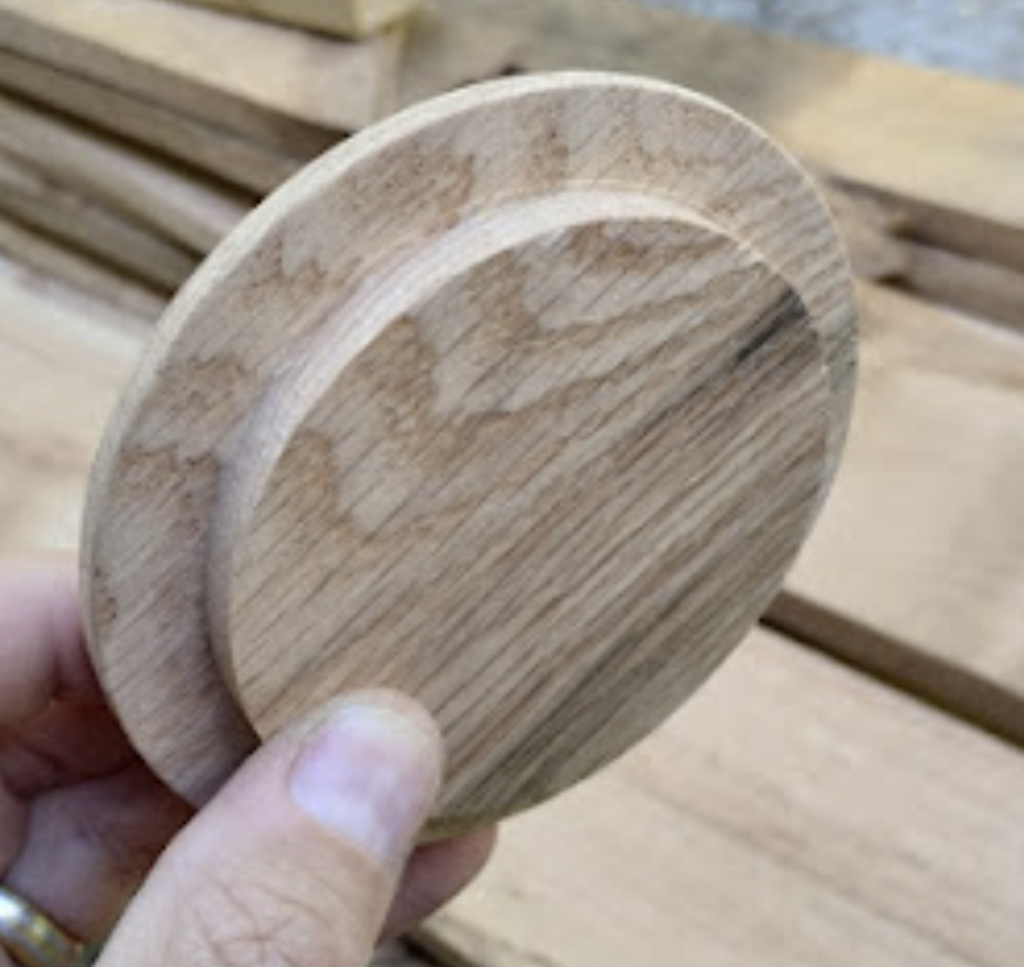
Lower the router bit to cut the inside diameter, at about 3.75″. Again, cut both the sacrificial hardboard and the wood at the same time, a little bit at a time, until it’s the right diameter. Then pry off the sacrificial hardboard and finish the deckels by rounding over and edges you want to round and sanding.
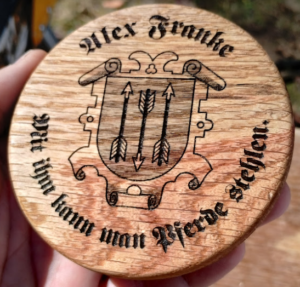
Laser Etching
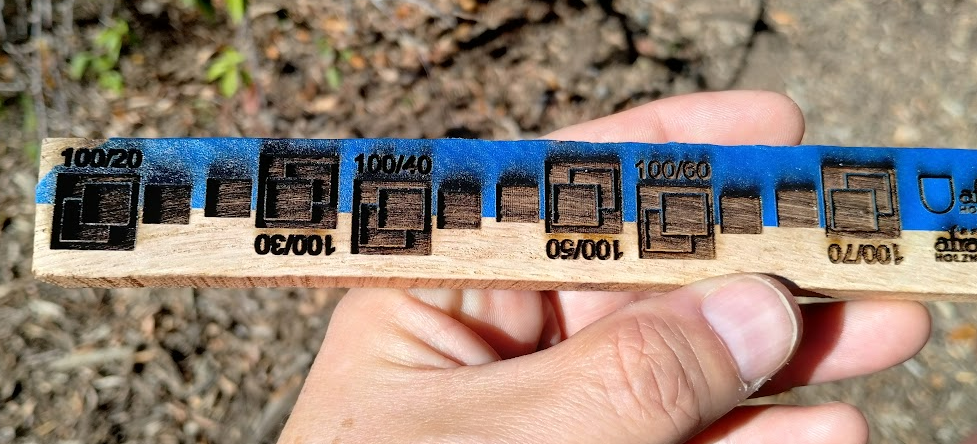
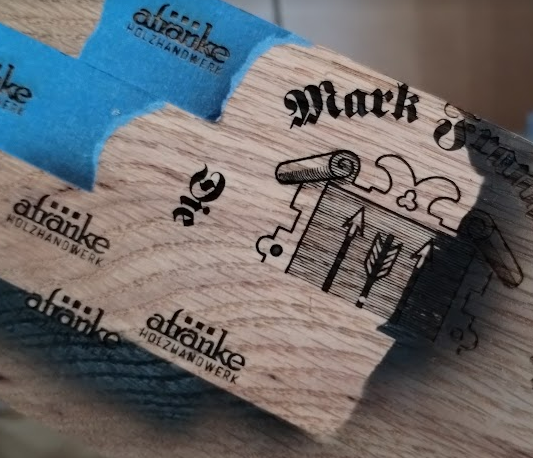
I used Inkscape (basically a free and very powerful alternative to Adobe Illustrator) to create a design that included a family coat of arms, names, and then a short phrase that reminded me of the person I was giving it to. I did some experimentation on a cut-off from the same board to figure out a good etching depth.
The laser I used didn’t have a built-in centering feature, so I centered the design on the work piece like this:
- Cover the wood with blue tape and mark the center points. You can do this with a center-finding jig or figure it out manually, or you can just print a circle the same diameter as your blanks with a dot in the middle and use that to mark the center.
- You might also want to mark the grain orientation or which way you want to be “up.”
- Include a center dot or cross mark on the SVG so you have a target, and make it a different color so it stands out.
- Print the design to the laser software (but don’t move it around on the screen), place the blank into the laser, and set the laser origin to the target. Note the X & Y position of the laser, which should be available in your laser software.
- Without moving the blank, print the design to the laser again, except this time without the center marker. Move the laser to the same X & Y position you recorded earlier, and then start etching.
Don’t remove the tape after it’s etched. You’ll need it there for the next step.
Painting and Finishing
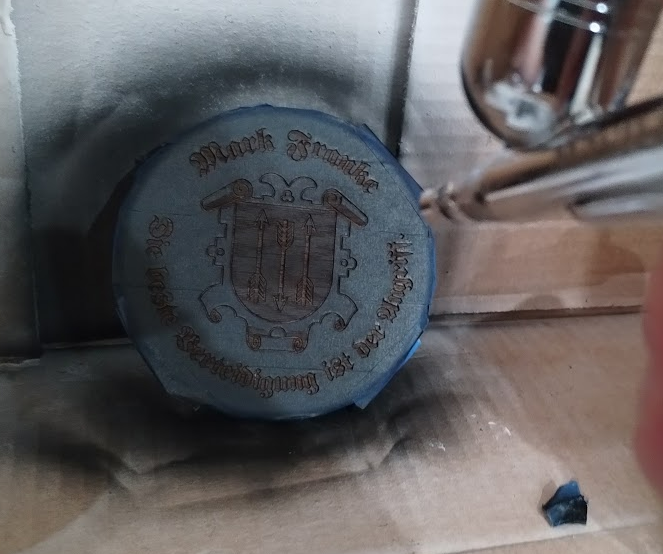
I tested a number of different finishing options, including baked on powder coat paint. (The wood is affected by baking the recommended time and temperature, so I used a hot air gun to melt it.) I settled on a light airbrushing of back paint, with pure tung oil finish, and a light beeswax topcoat. This makes it food safe and provides some simple protection. We’ll see how it withstands beer spills and steam and things like that.
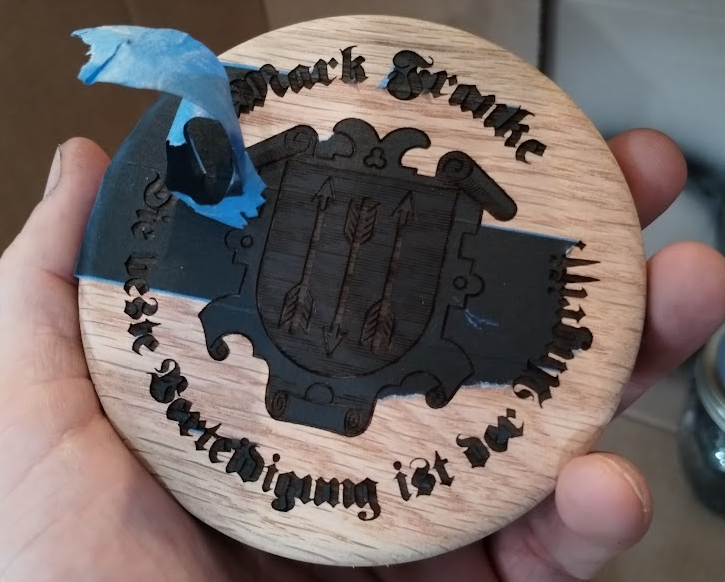
Mask off any extra parts of the blank to protect against overspray, and then airbrush or spray a coat of paint into the etching to give it more contrast. I used flat black.
After it’s dry, carefully peel off the masking. I had a lot of little lines and gaps, so picking the tape off too some time, but it turned out great.
Using a 50/50 mixture of pure tung oil and mineral spirits, flood the work back and front and let the oil soak in for 45 minutes. Without wiping any oil off, repeat this until the wood stops drinking the oil (maybe 3-4 coats), then after 45 minutes, wipe off the excess oil. Let the oil dry and harden for a few weeks. Apply a bit of beeswax for some more shine, but be careful to not get it into the etching too much because it makes a mess and take a while to pick out mistakes.

I can’t wait to see your Family Deckels during Wiesn 2024! Great Job!