
Here’s how I start with a screenshot (bitmap) of a vector image and prepare it for laser cutting. Usually for cutting I need one path around the outside of the image (for the cut path), and then other paths that define the parts to burn or etch on the inside. Yes, there are probably other or better ways to do it — feel free to share in the comments.
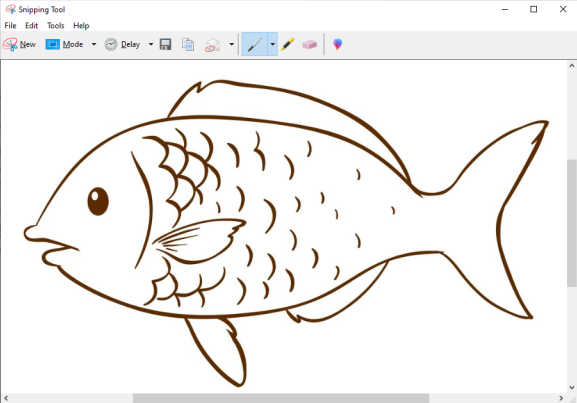
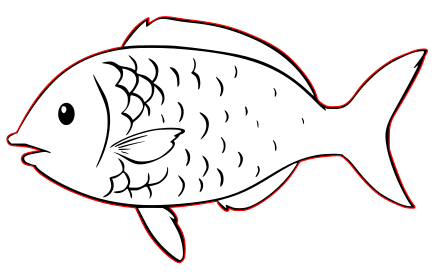
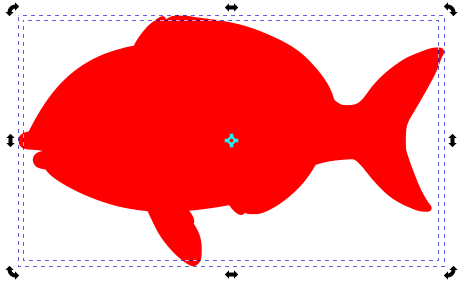
Start with an image. Here’s one I found of a fish (Image by brgfx on Freepik). It’s not available as an SVG, so we’ll convert it to you. Use the snipping tool to grab a screen shot of it.
Paste the screenshot into Inkscape. We need to trace it to make an SVG. Select the pasted image, then Path > Trace Bitmap. Note the preview and adjust if necessary, and then click Apply. Now there’s an SVG version of this object in black. You can tell it’s sitting over the original bitmap if you nudge it around with the arrow keys.
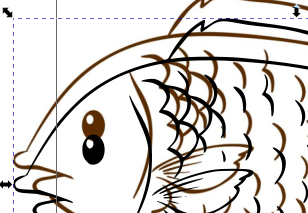
Delete the original bitmap, make a duplicate of the drawing (Ctrl-D) and shove it off to the side for later. you can use the arrow keys (or shift-arrow) to nudge the selection by predefined amounts, which makes it really easy to realign later.
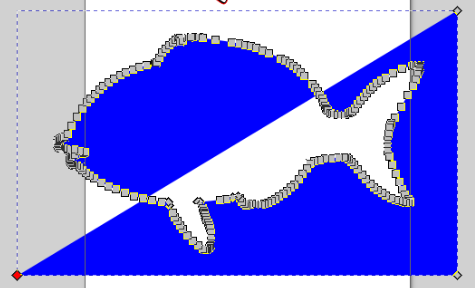
I want the laser to cut this shape out, so let’s get an outline. I do this by putting a box around it, and then subtracting it. Draw a box around it and fill it with some color so you can see it. Then select the box, and after that select the drawing. We’re going to cut the fish out of the blue background, so Path > Division.
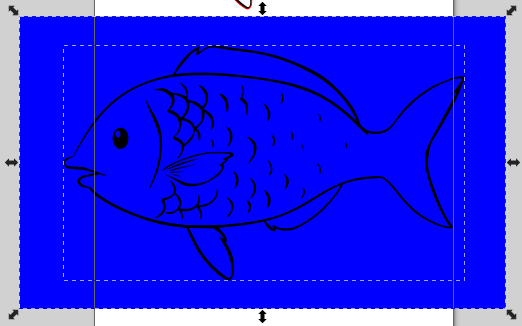
Then select everything that’s on the inside and hit delete.
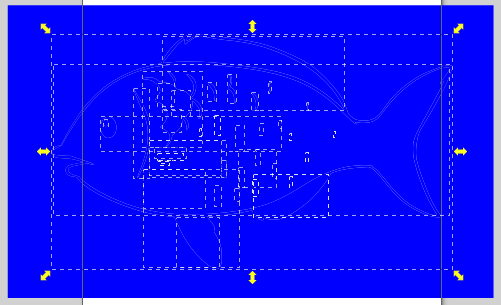
Now you should see the fist cut out of the background. Select the blue object and click on the Node tool. We’re going to delete the outside rectangular frame so we only have the outline of the fish. I usually select and delete them one at a time just for kicks. Here’s what it looks like with the first one deleted and the second one selected. Be sure you delete all four nodes even if the blue field disappears after just a couple.
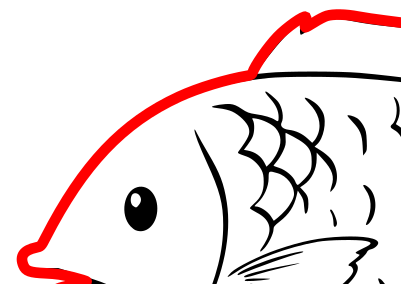
Now you should have an outline of the picture. Select it, set its fill to none, and its stroke to some line so you can see it. I picked red this time. Nudge the vector path back in alignment with the outline.
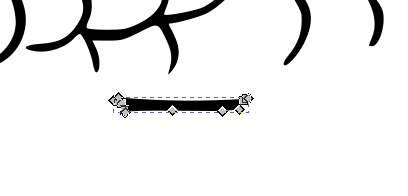
I don’t want to etch the outside bits if I’m just going to cut them, so let’s reduce the outline a bit so it’s easy to create the internal pattern. Increase the stroke with so that it covers most of the outside border, the Path > Stroke to Path to create inner and outer paths. The laser will cut along the inner path.
But first make a copy of this whole combined path and shove it off to the side. We’re also going to use this path to remove most of the fish outline.
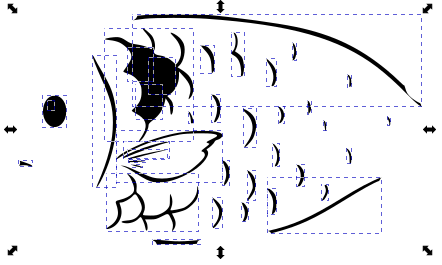
Select the fish and then select the outline. Path > Difference to effectively treat the red line like an eraser. There may be a bunch of little artifacts left over, and we’ll clean it up in the next step.
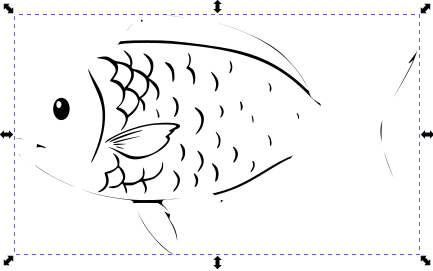
Path > Break Apart. If there were some enclosed areas, they might turn black. Don’t worry about this — it’ll be fixed when we recombine the paths. Now select all the artifacts on the outside and delete the or modify the nodes to clean them up.

Here’s a part we’ll clean up with the node editor because I want to etch that thick part.

This looks about right.
Now select all those internal bits again and recombine them with Path > Combine. This should fix those scales and the eye.
Nudge the outline back onto the fish and select Path > Break Apart to separate the inside from the outside.
Select the outer object and delete it. Select the inner outline then set its infill to none and give it a stroke again. We’ll have the laser first etch the black path, and then cut the red path.

Don’t forget to provide proper attribution if you used someone else’s work.