Deep Sleep Logic and Reliable Timing on an ATtiny85 — Inside the Code
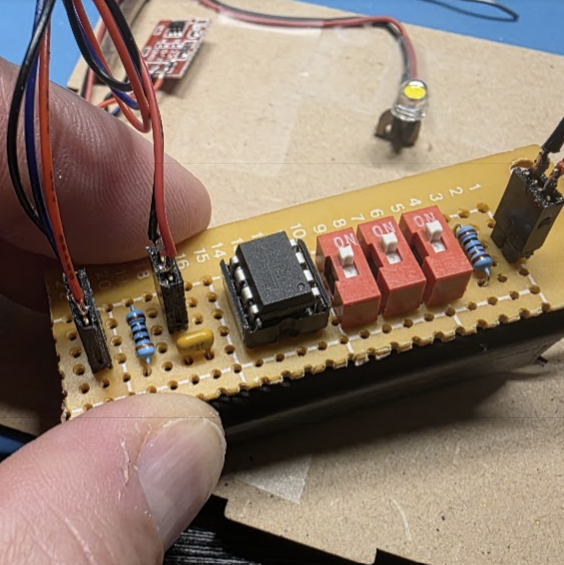

This is Part 2 of the BookNook Light Timer Series. Last time I introduced my BookNook Light Timer project and walked through how I planned to complete it using an ATtiny85 microcontroller. In this post, I wanted to unpack the…