20% Off Rack Plans in May
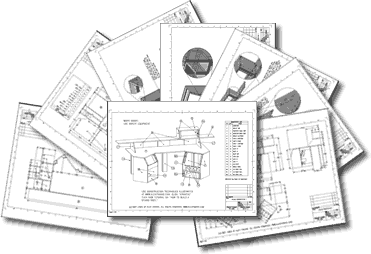

Use code “MAY20SALE” to get 20% off rack plans in May. This code can only be used a limited number of times, so don’t delay! Go to the purchase page here and enter the code at checkout! Consider this…
Use code “MAY20SALE” to get 20% off rack plans in May. This code can only be used a limited number of times, so don’t delay! Go to the purchase page here and enter the code at checkout! Consider this…
[sc:3dclub-intro] Here’s a quick update on some of the projects we’ve been working on this year:
Greetings Maker Faire North Carolina Attendees! It was fun speaking with many of you today. Here is a collection of links to bots and technologies that I spoke about: StickBot (the simple 6-legged walking robot) — the latest version, with schematics…
I built a framework for robot wheels a while back using OpenSCAD and used it to create a few different wheel styles. I recently decided to combine them all into one massively configurable wheel model, and add a number of…
I received several filament samples from New Image Plastics in Ohio, ranging in length from about 1-4 feet. Here are the measurements I took from various points on each strand. I measured all the way around the filament and recorded…
Yeah, free. If you’re starting a 3D printer project (such as RepRap) at your public K-12 school in the United States for the benefit of the students, then we’ll give you a free Sanguinololu v1.3a PCB to help you out…
I’ve set out to build a Prusa Mendel for $300. So far I think I’m doing pretty well. The top part is what I’ve already picked up, and the bottom part is what I have yet to purchase — that’s…
He we’re test-driving the our latest robot creation for the first time. It’s the boy’s design and made mostly of wood. The tires are o-rings, and there’s a 12V AA batter pack sandwiched between the two pieces of plywood. The…
I love getting photos of chess and checker boards that people have built using my tutorial (), or after being inspired by it, and so I’ve decided to start asking permission to post those photos and the stories behind them…
The goal was to crawl on the cheap, and what’s cheaper than popsicle sticks craft sticks and fishing line? Next we’ll wire up a 555 circuit so it can roam untethered, but until then, here’s how to make one of your…