How to Make Laser-cut Loaves and Fishes for Godly Play
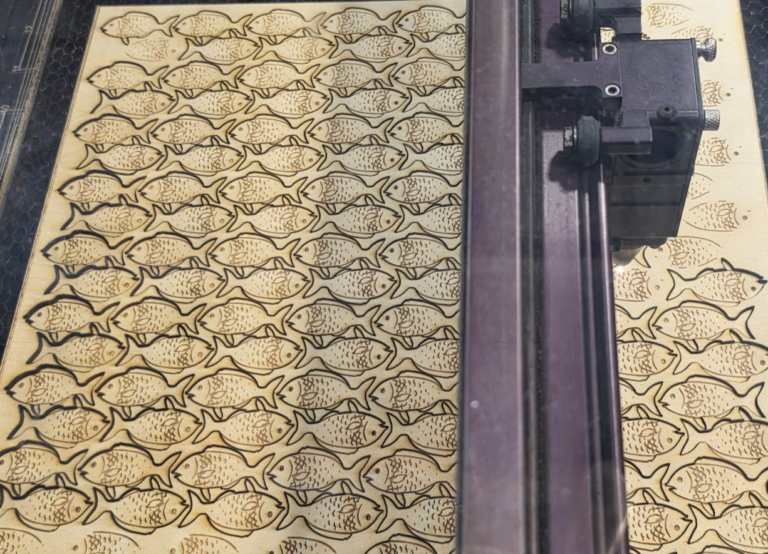

About a year ago I make a bunch of loaves and fishes for a Godly Play story at the church. I made them out of 3mm door hanger plywood that I picked up at the local craft store using a…
About a year ago I make a bunch of loaves and fishes for a Godly Play story at the church. I made them out of 3mm door hanger plywood that I picked up at the local craft store using a…
Use code “MAY20SALE” to get 20% off rack plans in May. This code can only be used a limited number of times, so don’t delay! Go to the purchase page here and enter the code at checkout! Consider this…
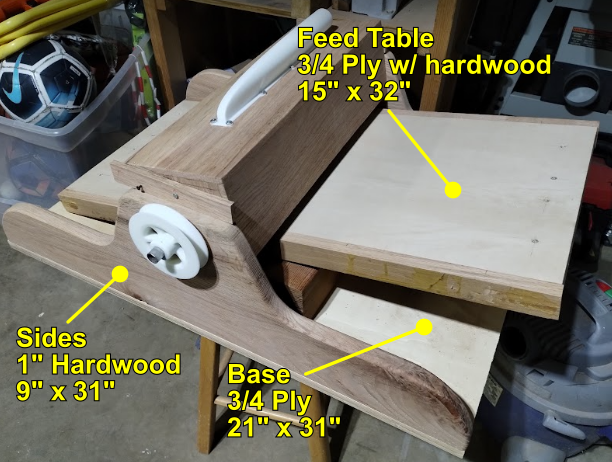
Backstory: We took down a red oak a couple years ago (Part 1 and Part 2) and I got it milled up for projects. Wifey wants a desk but the grain is a little tricky and my thickness planer just…
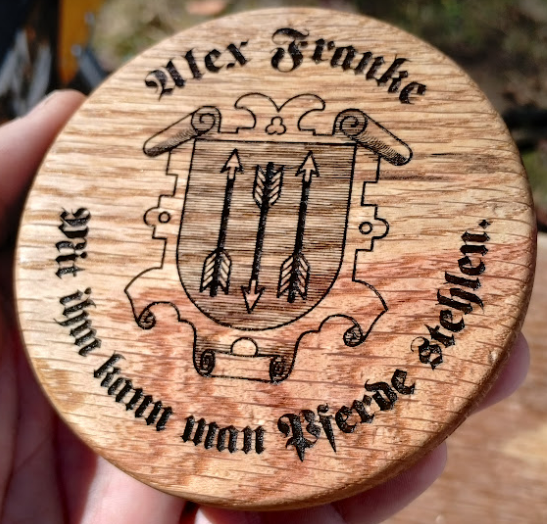
What’s a Deckel? A Deckel is a lid for a drink. It fits over a glass (like one of those large German Maas mugs or a red solo cup) to identify it as your own and to keep the flies…
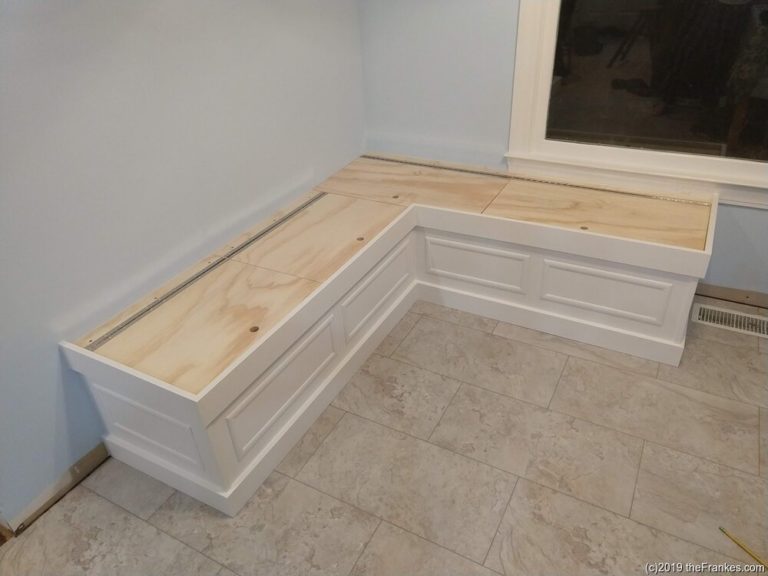
I built this banquette over the weekend, posted it on Facebook, and now I have a few people asking for plans. While I don’t have any plans specifically, I did take a lot of pictures along the way to show…
At our last 3D Printer Club meeting, the kids on the team started cutting threaded rods. We were clamping the rods to a table with a standard bar clamp to keep them in place. The problem was that they were…
It’s not easy to find concrete examples of shipping costs for McMaster-Carr online, and they don’t tell you what an order is going to cost to ship until after it’s already shipped — and that can be a little scary…
He we’re test-driving the our latest robot creation for the first time. It’s the boy’s design and made mostly of wood. The tires are o-rings, and there’s a 12V AA batter pack sandwiched between the two pieces of plywood. The…
Math Monday came early this week, and we had some fun exploring Reuleaux triangles. Next to a circle, they’re the simplest curve of constant width you can make — that basically means you can roll a plank on top of…
I love getting photos of chess and checker boards that people have built using my tutorial (), or after being inspired by it, and so I’ve decided to start asking permission to post those photos and the stories behind them…